
The Art of Hardwood Flooring Refinishing: Reviving Elegance Without Breaking the Bank
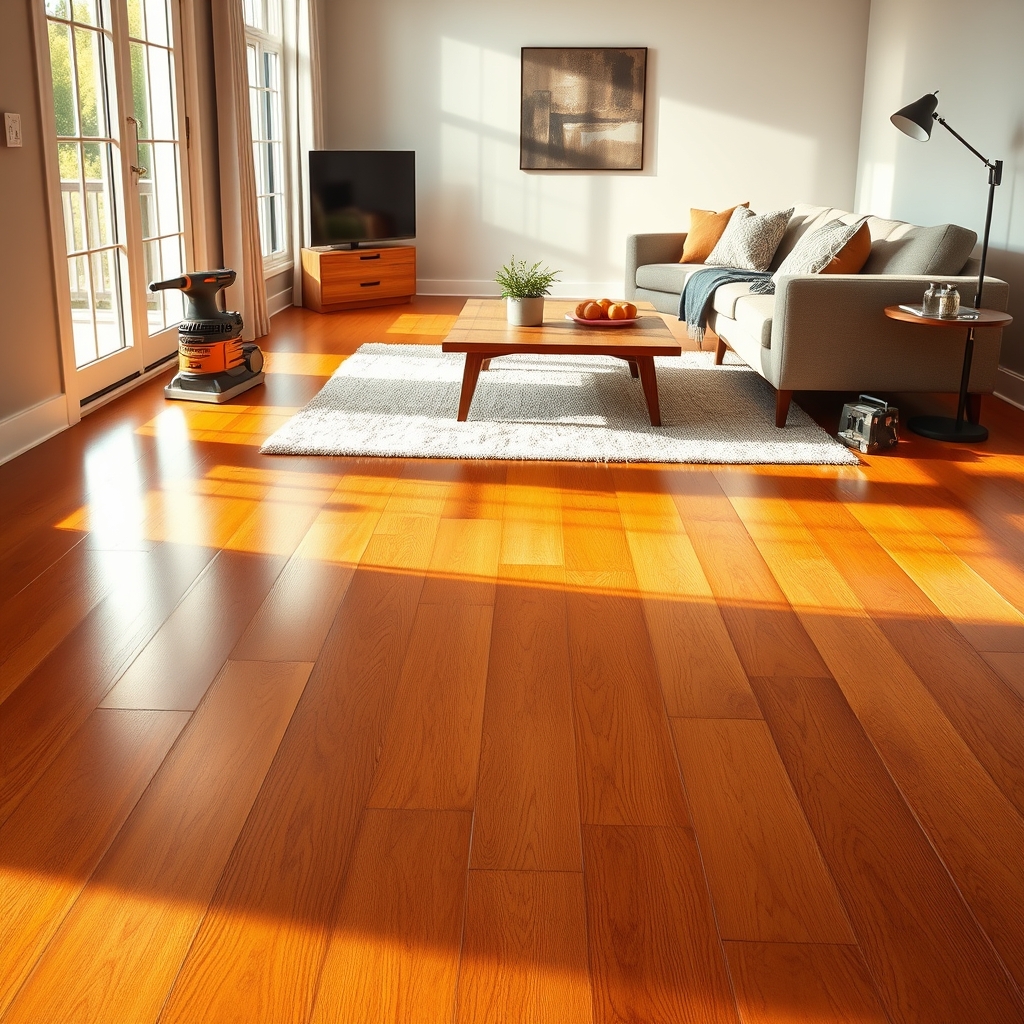
Hardwood floors are a timeless feature in any home, offering warmth, durability, and a touch of sophistication. However, over time, even the most well-maintained floors can show signs of wear—scratches, dullness, or discoloration that detract from their original beauty. The good news? You don’t need to invest in a full replacement to restore their luster. Hardwood flooring refinishing is a budget-friendly solution that can breathe new life into your space, enhancing its aesthetic appeal and even increasing your home’s value.
Why Refinish Instead of Replace?
Replacing hardwood floors can be a costly and time-consuming endeavor, often requiring the removal of existing flooring, subfloor repairs, and the installation of new materials. In contrast, refinishing is a far more economical choice, typically costing a fraction of the price. Beyond the financial savings, refinishing is also an eco-friendly option. By reusing your existing floors, you reduce waste and minimize the demand for new materials, making it a sustainable choice for environmentally conscious homeowners.
Additionally, refinishing allows you to customize the look of your floors. Whether you want to restore their original hue, experiment with a darker stain, or embrace a trendy gray or whitewashed finish, the possibilities are endless. This flexibility ensures your floors can evolve with your style, adapting to new design trends without the need for a complete overhaul.
The Refinishing Process: What to Expect
Refinishing hardwood floors is a multi-step process that requires patience and precision. Here’s a breakdown of what the journey entails:
1. Preparation
The first step is preparing the room. This involves removing all furniture, rugs, and decor, as well as ensuring the space is well-ventilated. Next, the floors are thoroughly cleaned to remove dirt, dust, and any existing wax or finish. Any protruding nails or staples are hammered down, and gaps or cracks may be filled with wood filler to create a smooth surface.
2. Sanding
Sanding is the most critical part of the refinishing process. Using a drum sander or orbital sander, the top layer of the wood is carefully removed to eliminate scratches, stains, and the old finish. This step requires a steady hand, as uneven sanding can lead to an inconsistent appearance. It’s often best to start with coarse-grit sandpaper and gradually move to finer grits for a polished result. Dust control is essential during this phase, so sealing off the room and using a vacuum with a HEPA filter can help keep the air clean.
3. Staining (Optional)
If you’re looking to change the color of your floors, staining is the next step. Stains come in a variety of shades, from natural and light tones to rich, dark hues. It’s important to test the stain on a small, inconspicuous area first to ensure it achieves the desired effect. Once applied, the stain needs time to dry completely before moving on to the next step.
4. Sealing
The final step is applying a protective sealant, such as polyurethane, to safeguard the wood from future damage. Polyurethane comes in different sheens—matte, satin, semi-gloss, and high-gloss—allowing you to choose the level of shine that best suits your aesthetic. Multiple coats are typically applied, with light sanding between each layer to ensure a smooth, durable finish. Once the sealant is fully cured, your floors will be ready to withstand daily wear and tear while maintaining their renewed beauty.
DIY vs. Hiring a Professional
While refinishing hardwood floors is a project many homeowners tackle themselves, it’s not without its challenges. Sanding, in particular, can be tricky, and mistakes can be costly to fix. If you’re unsure about your ability to achieve a flawless finish, hiring a professional may be worth the investment. Professionals have the tools, experience, and expertise to deliver a high-quality result with minimal hassle.
That said, if you’re up for the challenge, DIY refinishing can be a rewarding experience. It allows you to take full control of the process, from choosing the stain to applying the final sealant. Just be sure to do your research, invest in the right tools, and take your time to avoid common pitfalls like uneven sanding or improper staining.
Maintaining Your Refreshed Floors
Once your floors are refinished, proper maintenance is key to preserving their beauty. Regular sweeping or vacuuming will help prevent dirt and debris from scratching the surface, while a damp mop with a mild cleaner can keep them looking their best. Avoid using harsh chemicals or abrasive tools, as these can damage the finish over time. Additionally, placing felt pads under furniture legs and using rugs in high-traffic areas can help minimize wear and extend the life of your floors.
Refinishing your hardwood floors is more than just a home improvement project—it’s an investment in the comfort and elegance of your living space. With a little effort and creativity, you can transform worn-out floors into a stunning focal point that enhances the overall ambiance of your home. Whether you choose to tackle the project yourself or enlist the help of a professional, the results will speak for themselves, proving that sometimes, all it takes is a fresh perspective to rediscover the beauty that’s been there all along.